Deploying Node.js Apps on AWS: A Step-by-Step Guide
By Kainat Chaudhary
Introduction
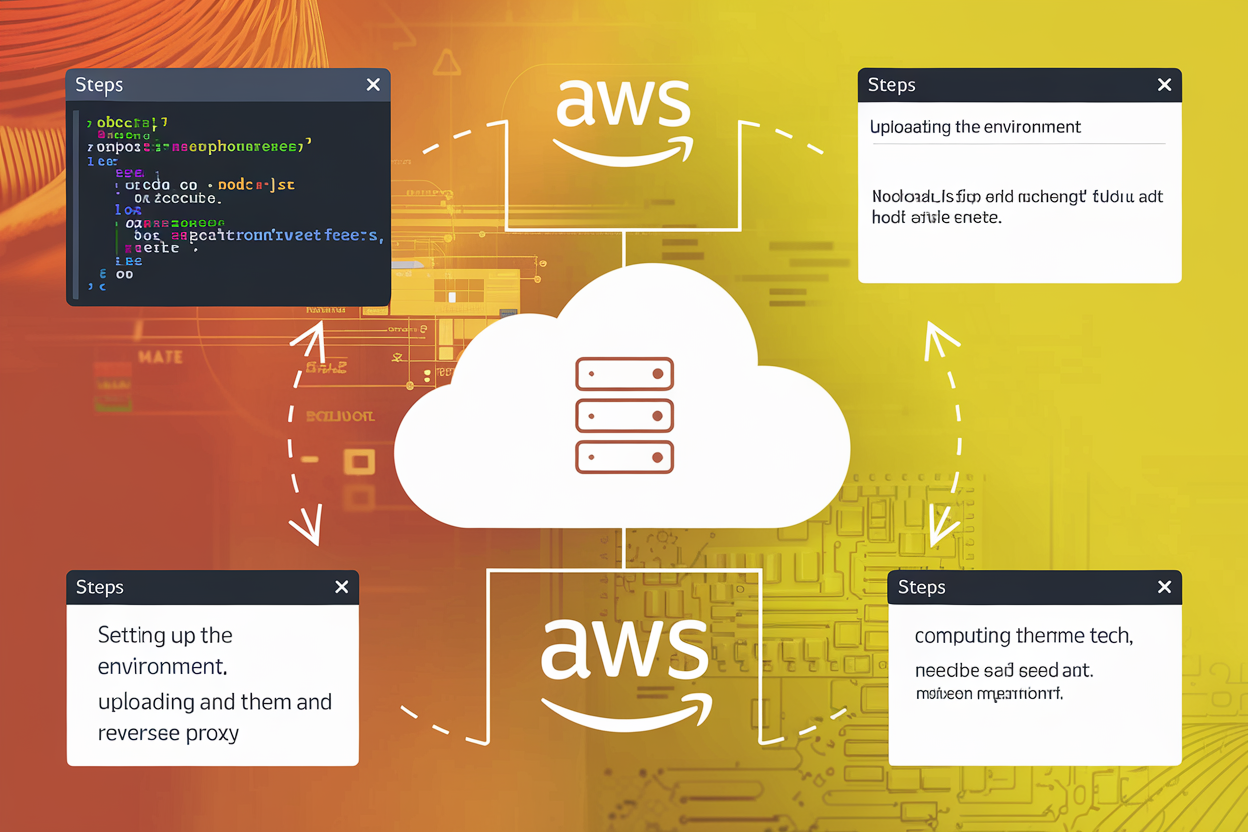
Deploying a Node.js application on AWS (Amazon Web Services) can seem daunting, but with the right approach, it becomes a manageable task. AWS offers various services to host and manage Node.js applications, including EC2 (Elastic Compute Cloud), Elastic Beanstalk, and Lambda. This guide will walk you through a step-by-step process for deploying a Node.js app using AWS EC2, providing you with a solid foundation for deploying and managing your applications in the cloud.
Step 1: Set Up Your AWS Account
Before deploying your Node.js app, you need to set up an AWS account. If you don’t have one already, visit the [AWS website](https://aws.amazon.com) and create an account. Once your account is set up, you can access the AWS Management Console, where you’ll manage your deployment.
Step 2: Launch an EC2 Instance
1. Log in to the AWS Management Console: Navigate to the EC2 dashboard. 2. Click on 'Launch Instance': This will start the process of creating a new virtual server. 3. Choose an Amazon Machine Image (AMI): Select an appropriate AMI for your Node.js app. A common choice is the Ubuntu Server AMI. 4. Choose an Instance Type: Select an instance type based on your app’s resource needs. The `t2.micro` instance is a good starting point for small applications. 5. Configure Instance Details: Set up instance details such as the number of instances, network settings, and IAM roles. 6. Add Storage: Specify the amount of storage your instance will need. 7. Add Tags: Optionally, add tags to organize and manage your instances. 8. Configure Security Group: Create a security group to define inbound and outbound rules. Make sure to allow traffic on ports 22 (SSH), 80 (HTTP), and 443 (HTTPS). 9. Review and Launch: Review your configurations and launch the instance. You’ll need to create or select a key pair to access the instance via SSH.
Step 3: Connect to Your EC2 Instance
1. Obtain Your Instance’s Public IP Address: From the EC2 dashboard, find your instance and copy its public IP address. 2. Connect via SSH: Use an SSH client to connect to your instance. For example, using the terminal:
ssh -i your-key.pem ubuntu@your-instance-ip

// Replace `your-key.pem` with your key pair file and `your-instance-ip` with your instance’s public IP address.
Step 4: Set Up Your Node.js Environment
1. Update and Install Node.js: Once connected to your instance, update the package list and install Node.js:
sudo apt update
sudo apt install -y nodejs npm
2. Verify Installation: Check that Node.js and npm are installed correctly:
node -v
npm -v
Step 5: Deploy Your Node.js Application
1. Transfer Your Application Files: Use SCP or another file transfer method to upload your Node.js application files to the instance. 2. Install Dependencies: Navigate to your application directory and install dependencies:
cd your-app-directory
npm install
3. Run Your Application: Start your Node.js application:
node app.jsEnsure your app is configured to listen on the correct port and is accessible via the security group settings.
Step 6: Set Up a Process Manager
Using a process manager like PM2 helps keep your application running smoothly by managing application processes and enabling automatic restarts. 1. Install PM2:
npm install -g pm22. Start Your Application with PM2:
pm2 start app.js3. Save PM2 Configuration:
pm2 save4. Configure PM2 to Start on Boot:
pm2 startupFollow the instructions provided by PM2 to ensure it starts on boot.
Step 7: Set Up a Reverse Proxy (Optional)
For production environments, setting up a reverse proxy like Nginx can improve performance and manage incoming requests. 1. Install Nginx:
sudo apt install nginx2. Configure Nginx: Edit the Nginx configuration file to proxy requests to your Node.js application. Here’s an example configuration:
server {
  listen 80;
  server_name your-domain.com;

  location / {
    proxy_pass http://localhost:3000;
    proxy_set_header Host $host;
    proxy_set_header X-Real-IP $remote_addr;
    proxy_set_header X-Forwarded-For $proxy_add_x_forwarded_for;
    proxy_set_header X-Forwarded-Proto $scheme;
  }
}
Replace `your-domain.com` with your domain and adjust the proxy pass URL to match your application’s port. 3. Restart Nginx:
sudo systemctl restart nginxConclusion
Deploying a Node.js application on AWS EC2 provides a scalable and flexible environment for your app. By following this guide, you’ve set up an EC2 instance, configured your Node.js environment, and deployed your application. For production deployments, consider adding a reverse proxy and using additional AWS services to enhance security, scalability, and monitoring. With these steps, you’re well on your way to managing your Node.js applications effectively on AWS.

Automating Your Workflow: Using GitHub Actions for CI/CD
Learn how to automate your CI/CD workflows using GitHub Actions. This guide covers the basics of setting up your first workflow, running tests, and deploying applications, along with the benefits of using GitHub Actions for continuous integration and deployment.

Handling API Rate Limits: Queueing API Requests with JavaScript
Learn how to manage API rate limits in JavaScript by queueing API requests. This guide covers the importance of rate limiting, use cases, and a practical example to get you started.

Mastering Puppeteer: Automating Web Tasks with Headless Browsers
Learn how to master Puppeteer for automating web tasks using headless browsers. This guide covers setup, basic examples, advanced features, and best practices for efficient web automation.

Automating Repetitive Tasks: Using Python and JavaScript for Web Automation
Learn how to automate repetitive tasks using Python and JavaScript. This guide covers automation with Selenium in Python and Puppeteer in JavaScript, providing examples and best practices for effective web automation.

Handling Dynamic Content: Scraping JavaScript-Heavy Websites with Selenium and Puppeteer
Discover how to scrape JavaScript-heavy websites using Selenium and Puppeteer. This guide provides insights and code examples for handling dynamic content and extracting valuable data from web pages.